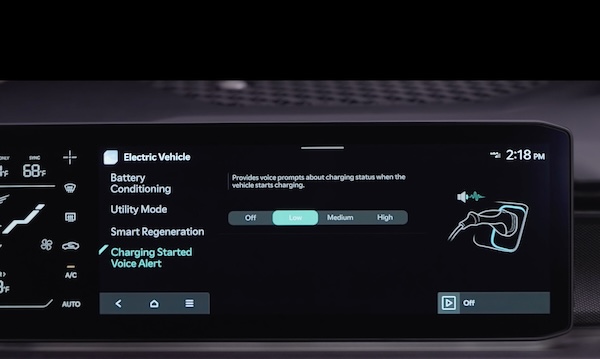
EV Charging Settings
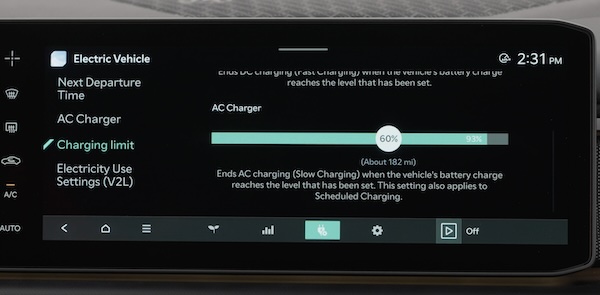
AC Charging or “Normal” / Level 2 Charging
An AC Charger or Level 2 Charger, 240-volt/50-amp, is the recommended charging system for your EV.
This type of charger uses 240 volts of electricity and takes approximately 9 hours for a full charge (extended batteries may take longer).
This charger may be able to be installed at your home by a qualified electrician or can be found at a public charging station.
The shape of the charger and how to use the charger may be different for each manufacturer. Please see section 1 in the Owner’s Manual for more information.
DC Charging or “Fast” or “Ultrafast” / Level 3 Charging
A DC Charger or “Fast” / “Ultrafast” / Level 3 Charger is usually found at public charging stations.
When the vehicle battery is low, this type of DC charge may charge an EV 10-80% in as little as 63 minutes (extended batteries may take longer). An ultra fast DC charger may charge from 10-80% on a 350kW charger in approximately 18 minutes.
Kia recommends minimizing the frequent use of DC fast charging because it can reduce the lifespan of the battery.
An AC Charger or Level 2 Charger, 240-volt/50-amp, is recommended for regular charging of the vehicle.
For more detail and/or subsequent steps in charging your vehicle, including safety precautions that should be taken, please see section 1 in the Owner’s Manual.
To charge your EV:
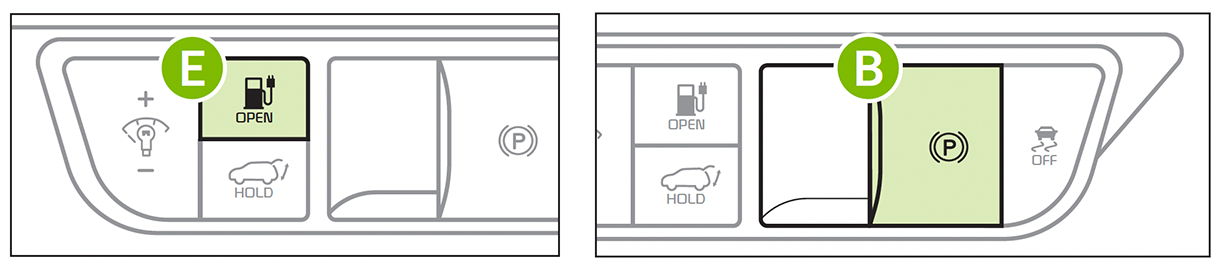
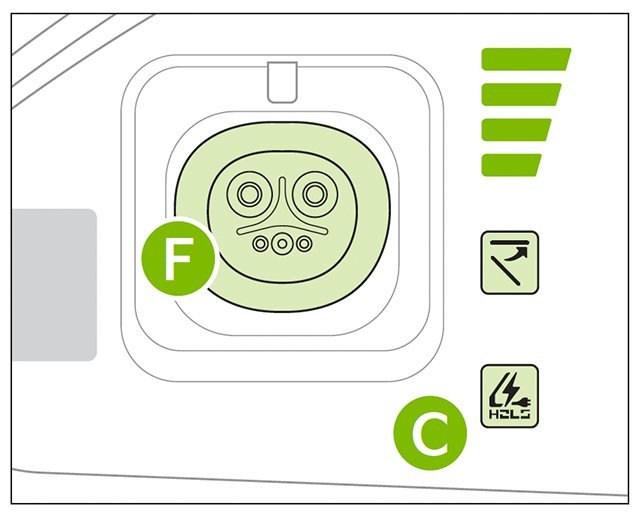
 or press the Charging Door Open button
  on the Driver’s Panel inside (the charging door can be opened when the vehicle is unlocked)
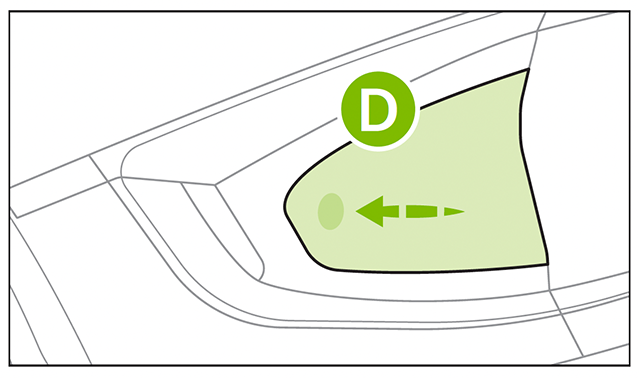
 by pushing the connector until you hear a clicking sound
If Scheduled Charging is set, charging may not begin immediately until the set time.
Checking the Charging Status
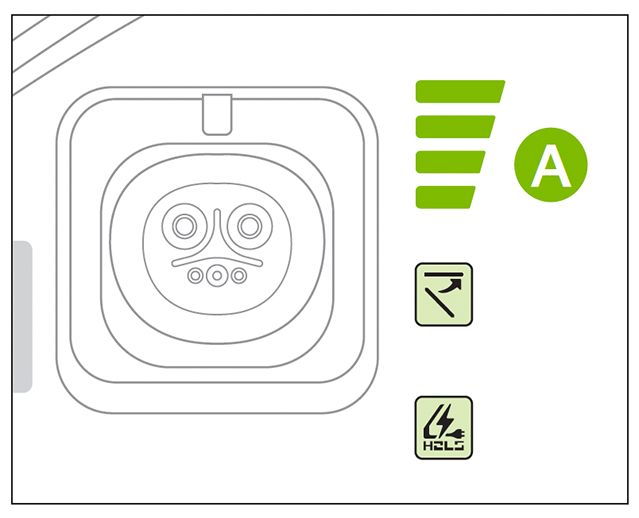
The charging status can be checked by viewing the charging status indicator ![]() next to the charging inlet or on the dash panel, in the Instrument Cluster, or by using the Kia Access App.
next to the charging inlet or on the dash panel, in the Instrument Cluster, or by using the Kia Access App.
The lights will progressively become lit as the vehicle approaches a full charge.
For more detail and/or subsequent steps in charging your vehicle, including safety precautions that should be taken, please see section 1 of the Owner’s Manual.
Button configuration may vary. Images are for illustrative purposes only and may not reflect actual feature or operation.

